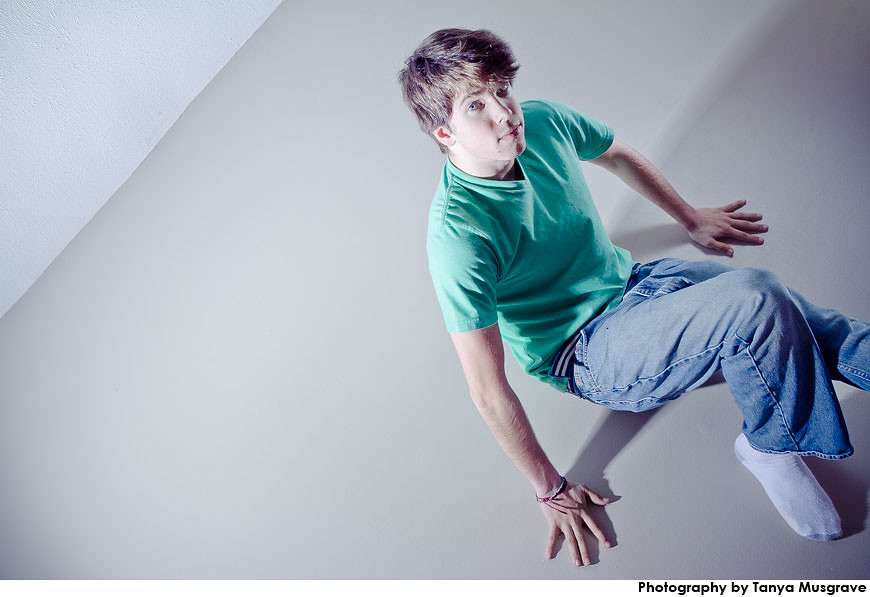
As you all may know by now, I like exploring new territory...whether it be subject matter or different shooting techniques as well as post-processing techniques.
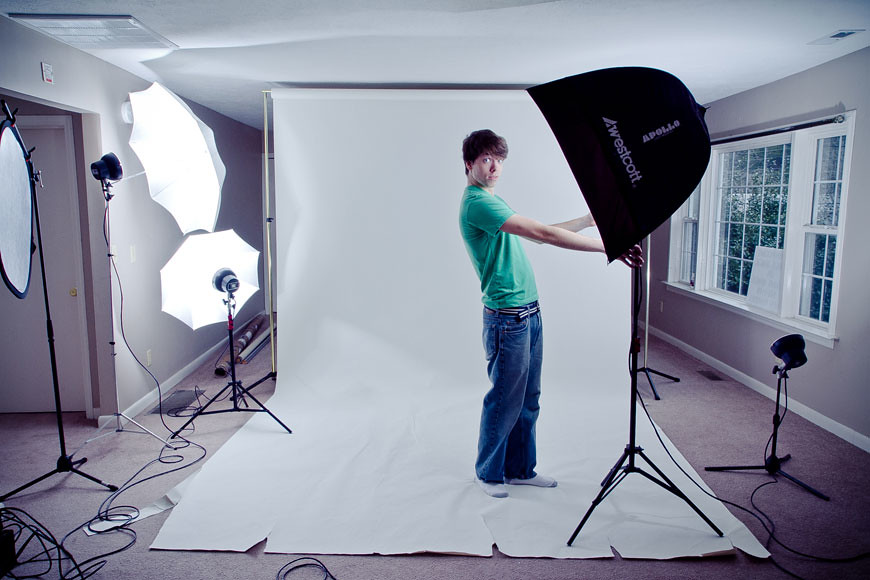
He'd gotten a Novatron strobe kit. I'd only used strobes once before, and that was capturing water splashes for the Nalgene ad series I did for a graphic design project about two and a half years ago.

The other studio lighting experience (namely the Wellness Center athlete shoot), I'd done it with hot lights.

For those less familiar, basically strobes are like those powerful flashes that Jostens brings for your cheesy school picture. There's the burst of light and that's it. Hot lights are the continuous ones that you'd find on-set on a production, burning bright (and hot) the entire time. What's crazy different that I learned was that with strobes, it doesn't really matter what shutter speed you're at. *mind blown* I feel like I should've known that already from film school, lol, but again, I worked more with hot lights, where you basically just set the lights out, could see the results right there and adjusted the camera settings.
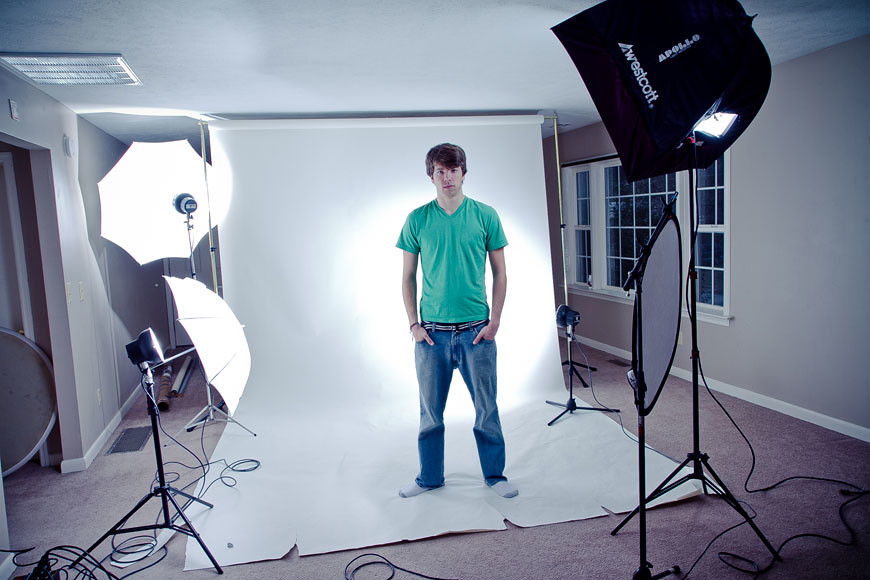
IN any case, here are a few shots we got:


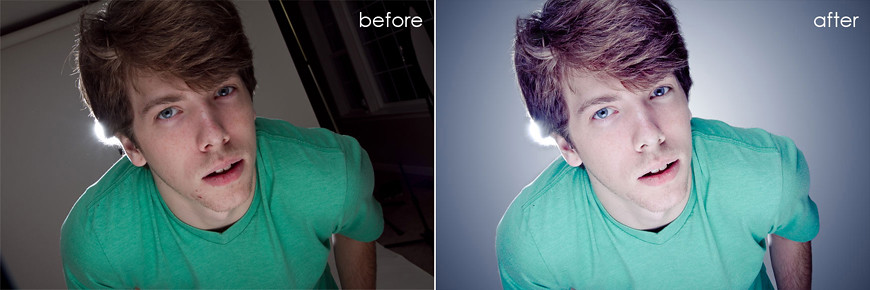
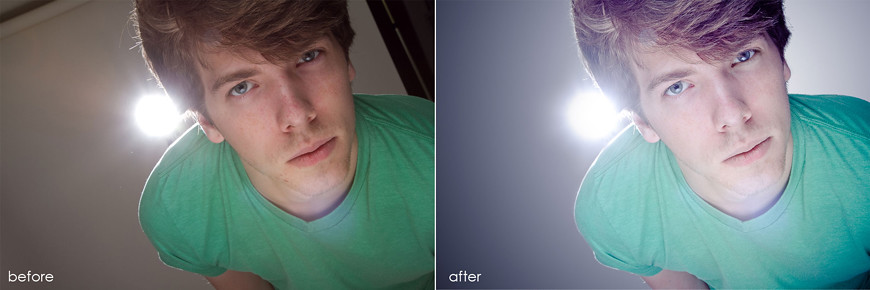
Haha, it's actually not far from the truth (Disclaimer to all my portrait clients, no I'm not going to do all this to your already-beautiful face. You being you is better than all this). This is just for fun =P
It actually takes just as much work as lighting and shooting it though...I wanted to try my hand at background replacement and it's pretty time consuming (but intriguing enough for the creative mind that it's totally worth it).
For those who are curious and fluent, basically the steps are as follows:
1. Open in Lightroom
2. Slide various sliders until it looks cool. (Exposure, Fill, Blacks, Split-toning, Sharpening)
3. Open in Photoshop
5. Open another document, fill with black, apply circular gradient. [Command+U] and slide Hue/Saturation sliders until the background looks a somewhat believable shade.
6. Copy and Paste photo on top of the gradient, apply a mask. Use the paintbrush tool, paint either black or white (in "mask" terms, black and white is basically the "on" or "off" switch), and cut him/her out...sometimes even down to a strand of hair. Whatever makes it look less cut out.
7. Clone stamp
8. Party like a rock star
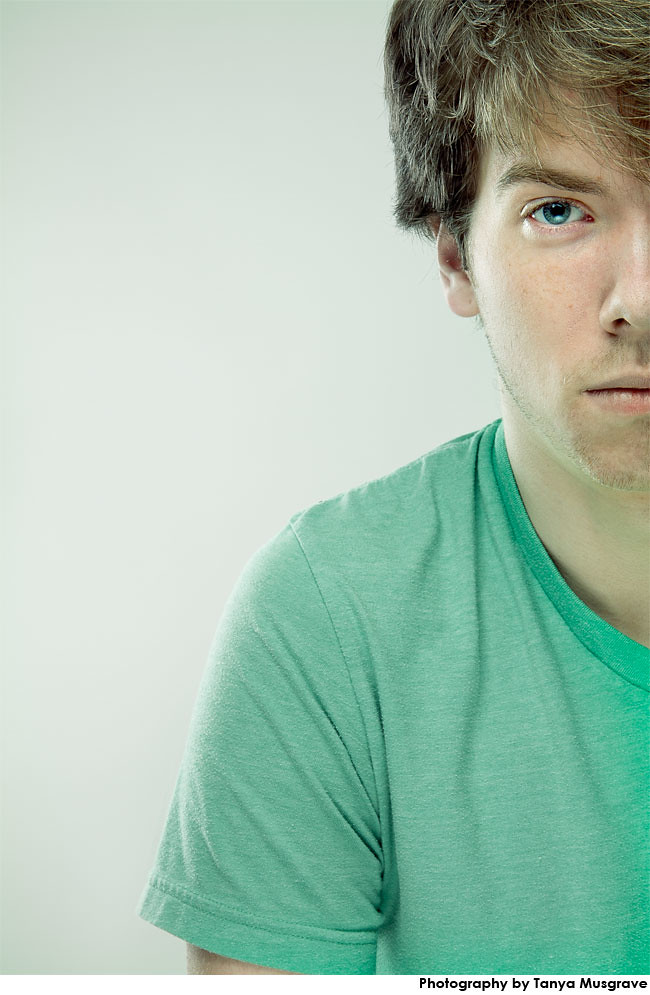
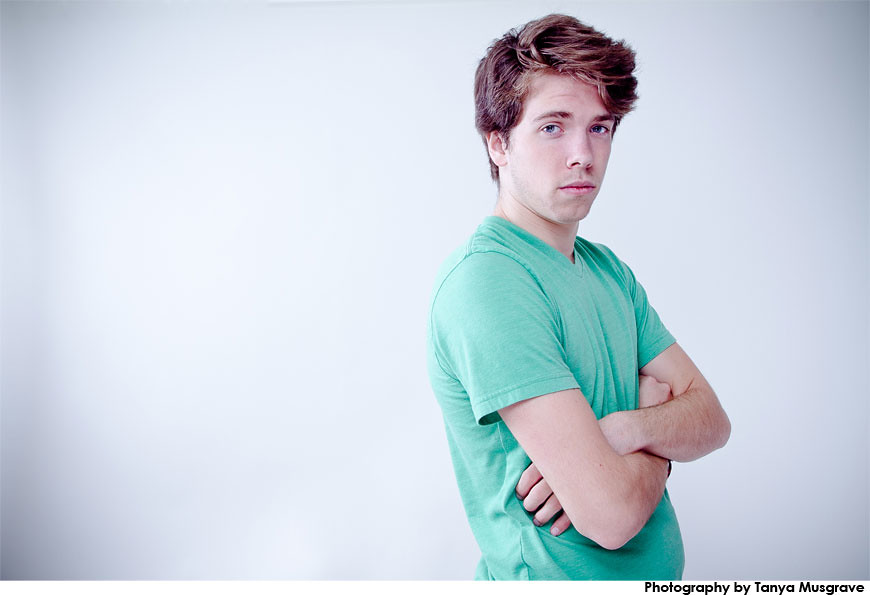
Here are some Before/Afters:

This is just very basic compositing. We actually did another (completely BOSS) experiment with compositing, and that was with his Jeep. After the studio shenanigans, we set up his Jeep right outside, hosed down the pavement and got about 20 different exposures, each for a different part of it.
IN any case, here are a few shots we got:
How It's Done
Haha, it's actually not far from the truth (Disclaimer to all my portrait clients, no I'm not going to do all this to your already-beautiful face. You being you is better than all this). This is just for fun =P
It actually takes just as much work as lighting and shooting it though...I wanted to try my hand at background replacement and it's pretty time consuming (but intriguing enough for the creative mind that it's totally worth it).
For those who are curious and fluent, basically the steps are as follows:
1. Open in Lightroom
2. Slide various sliders until it looks cool. (Exposure, Fill, Blacks, Split-toning, Sharpening)
3. Open in Photoshop
4. Use the selection tool, feather 25-100 pixels, depending on what's being adjusted. Spot adjust things that don't look right (levels, hue/saturation). Every once and again, the split toning would throw off the magentas and reds and I'd have to rein 'em in again.
5. Open another document, fill with black, apply circular gradient. [Command+U] and slide Hue/Saturation sliders until the background looks a somewhat believable shade.
6. Copy and Paste photo on top of the gradient, apply a mask. Use the paintbrush tool, paint either black or white (in "mask" terms, black and white is basically the "on" or "off" switch), and cut him/her out...sometimes even down to a strand of hair. Whatever makes it look less cut out.
7. Clone stamp
8. Party like a rock star
Here are some Before/Afters:
This is just very basic compositing. We actually did another (completely BOSS) experiment with compositing, and that was with his Jeep. After the studio shenanigans, we set up his Jeep right outside, hosed down the pavement and got about 20 different exposures, each for a different part of it.
Each exposure was about 10 seconds long, with the camera set on a tripod of course. I'd remotely trigger the camera and he'd walk along the side with one of the strobes and blast it a few times. Since it was dark enough, and we were shooting with a small aperture, we didn't have too many problems with ambient light. And then he composited them together:
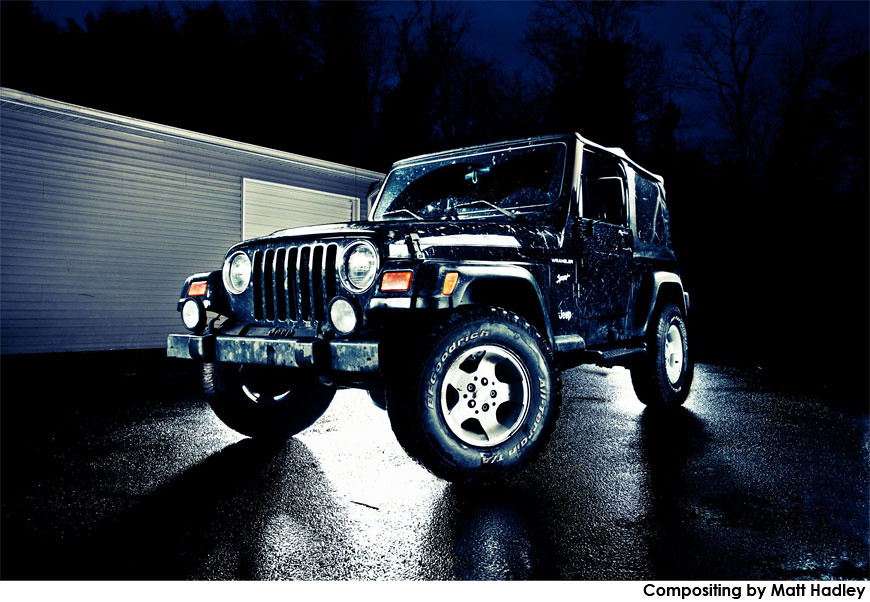
Perty sick, eh? Here's a vid to see his process:
Perty sick, eh? Here's a vid to see his process:
Hope you enjoyed; though I'm kinda new to the game, feel free to ask your questions!